Do you love oranges, Mandarins? Want some quick homemade orange ice cream without an ice cream maker? Make this easy no-churn, no-cook ice cream at home with condensed milk in 15 minutes of active time.
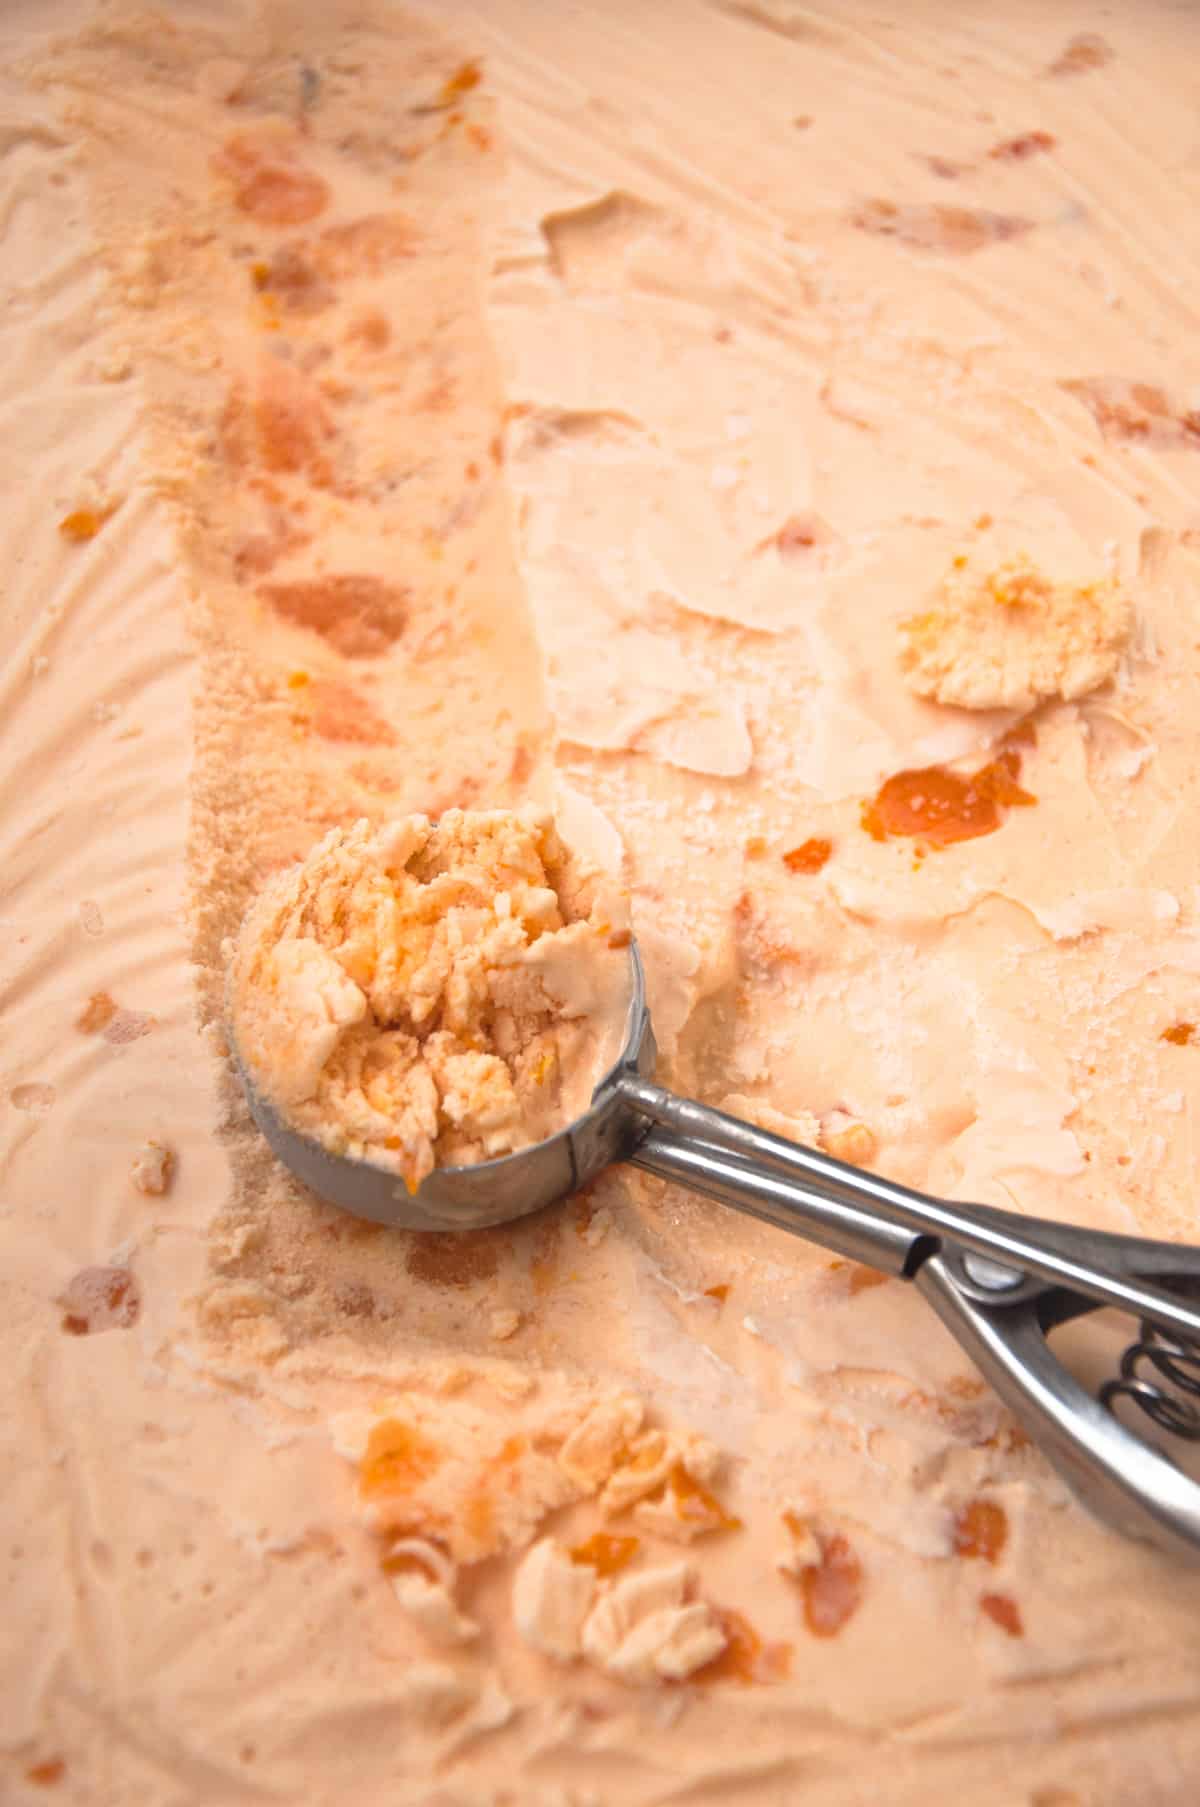
The taste of this homemade ice cream is very refreshing with a citrus boost. The sour flavor kind of lifts you and you can’t consume a lot at once like sweeter ice creams like mango ice cream or peach ice cream which is something I love about it.
I first tried this ice cream with blended orange pulp and some orange drink powder (like Tang). The result was good but I felt the orange drink flavor hit the back of the throat and causes discomfort due to artificial flavors.
Another thing was the juice separated and froze at the bottom while the cream floated on the top. So that was a failure then I tried a version with orange pieces.
Why does this recipe work?
What makes this recipe a winner is the use of orange bits instead of orange juice. The juice can add too much liquid to the ice cream which in the case of the no-churn method forms crystals. The pulp on the other hand retains the juice and the ice cream stays creamy.
This recipe used orange pulp and lemon juice for a sour kick. And the result is creamy ice cream with citrus freshness. Orange pulp also tastes good in tiny chunks. No Big Chunks because they freeze like ice.
Ingredients
This ice cream is vegetarian and is made without eggs. Eggs are used as emulsifiers but condensed milk in this recipe helps de-crystallization.
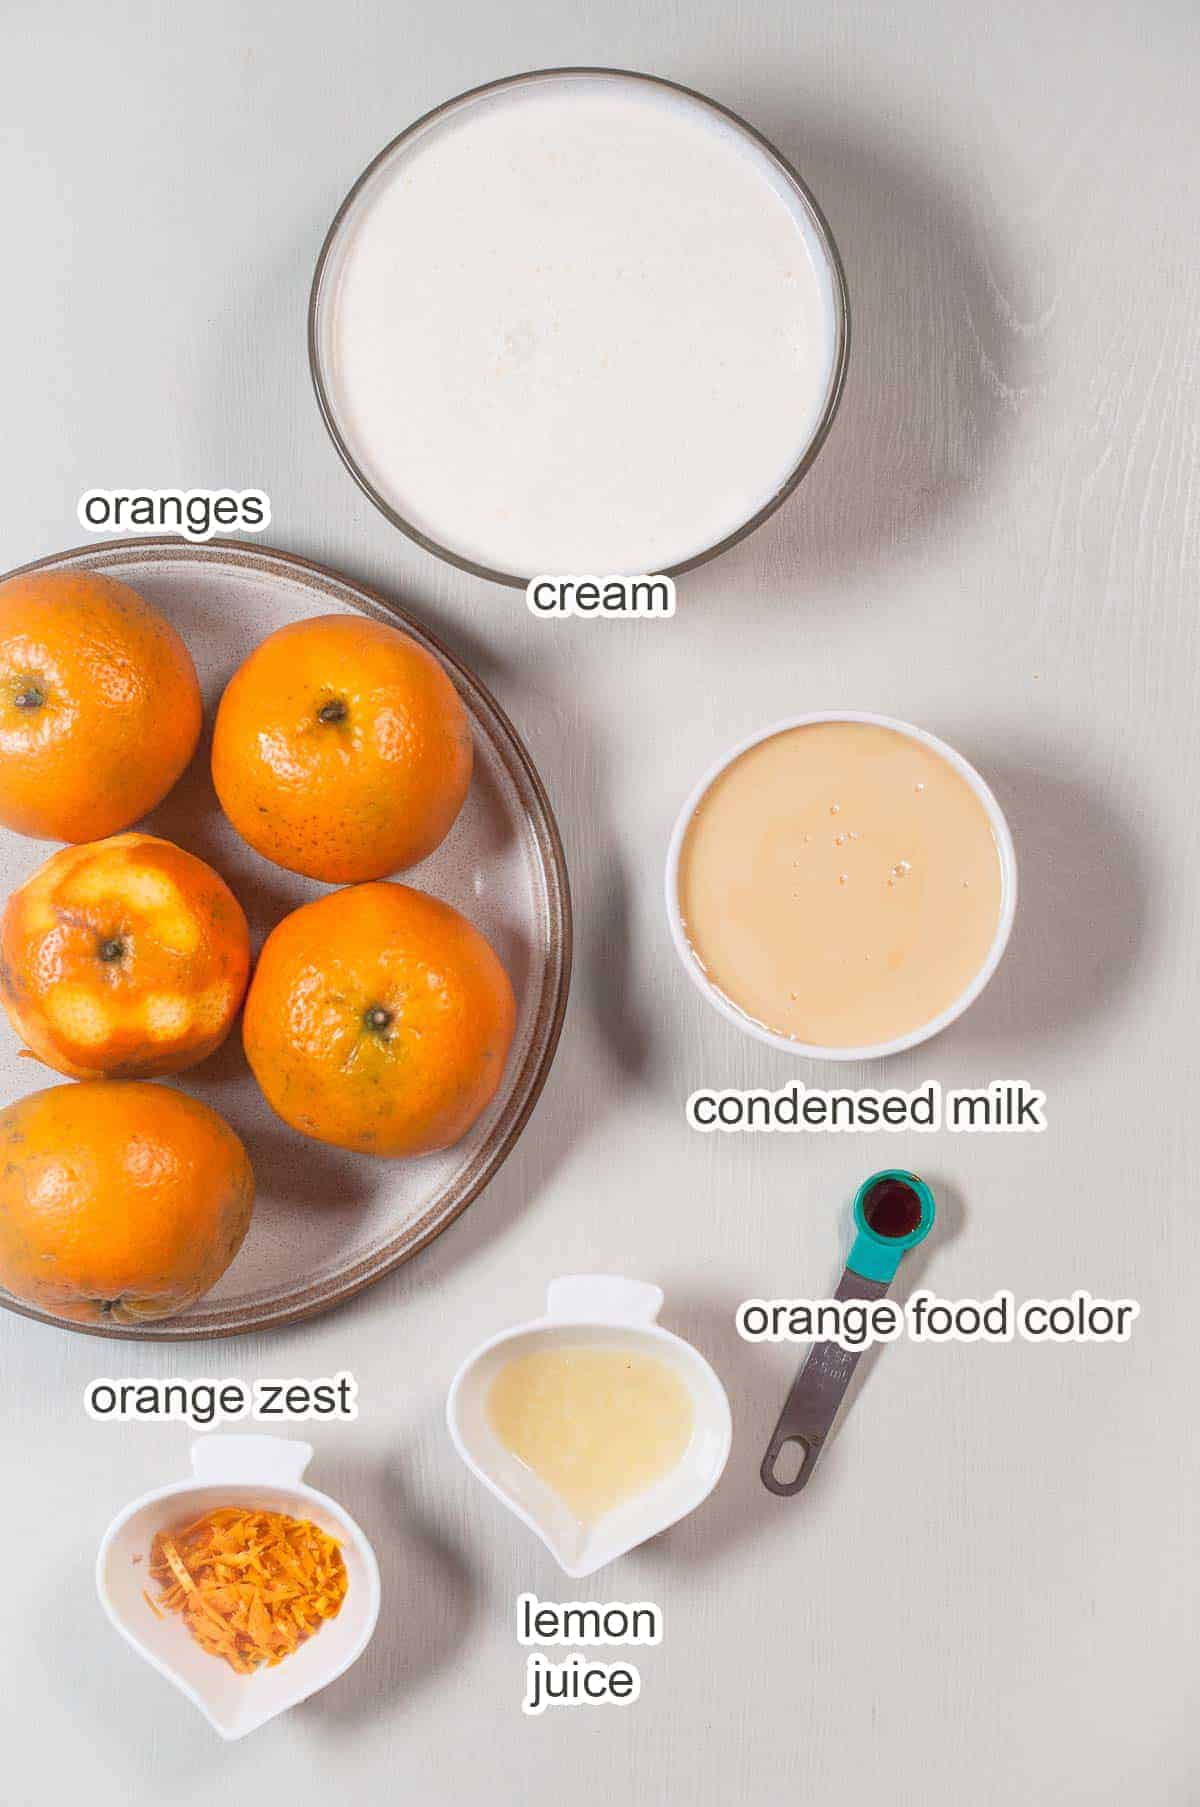
Fresh Oranges:
Fresh and juicy oranges are the main ingredient. Try to get the best-tasting oranges that are not fibrous. Most ice cream call for orange juice which tastes good too but, I feel the pulpy texture with orange chunks gives this ice cream a homemade and fresh feeling similar to this orange jam.
Whipping cream: I measured, the fresh, heavy, or whipping cream which doubled after beating in volume. It is plain cream and not sweetened.
Condensed Milk: The main sweetness in the recipe comes from condensed milk. I found a single can provides perfect sweetness. You may reduce to have lightly sweetened ice cream. Similarly, you can add 1-2 tablespoons of powdered or icing sugar for sweeter ice cream.
Orange zest: The orange zest is rich in flavors and vitamin C. (That's why I make orange peel tea.) Add some zest to the ice cream and I like to top some zest on the finished ice cream as garnish. It gives a tempting feeling.
Lemon juice: If your orange is tart, you can skip the lemon juice. Like I do with Plum Ice cream.
Orange food color: This is an optional ingredient. I used liquid orange color, but you can skip it. You'll have a faintly light orange ice cream without a food color that still tastes the same.
How to make it?
I made both versions of this ice cream and made many people taste it. Most agreed that the one with orange chunks tastes better.
But this recipe is tested with juice too so you can blend the chunks for a smoother yet slightly pulpy texture.
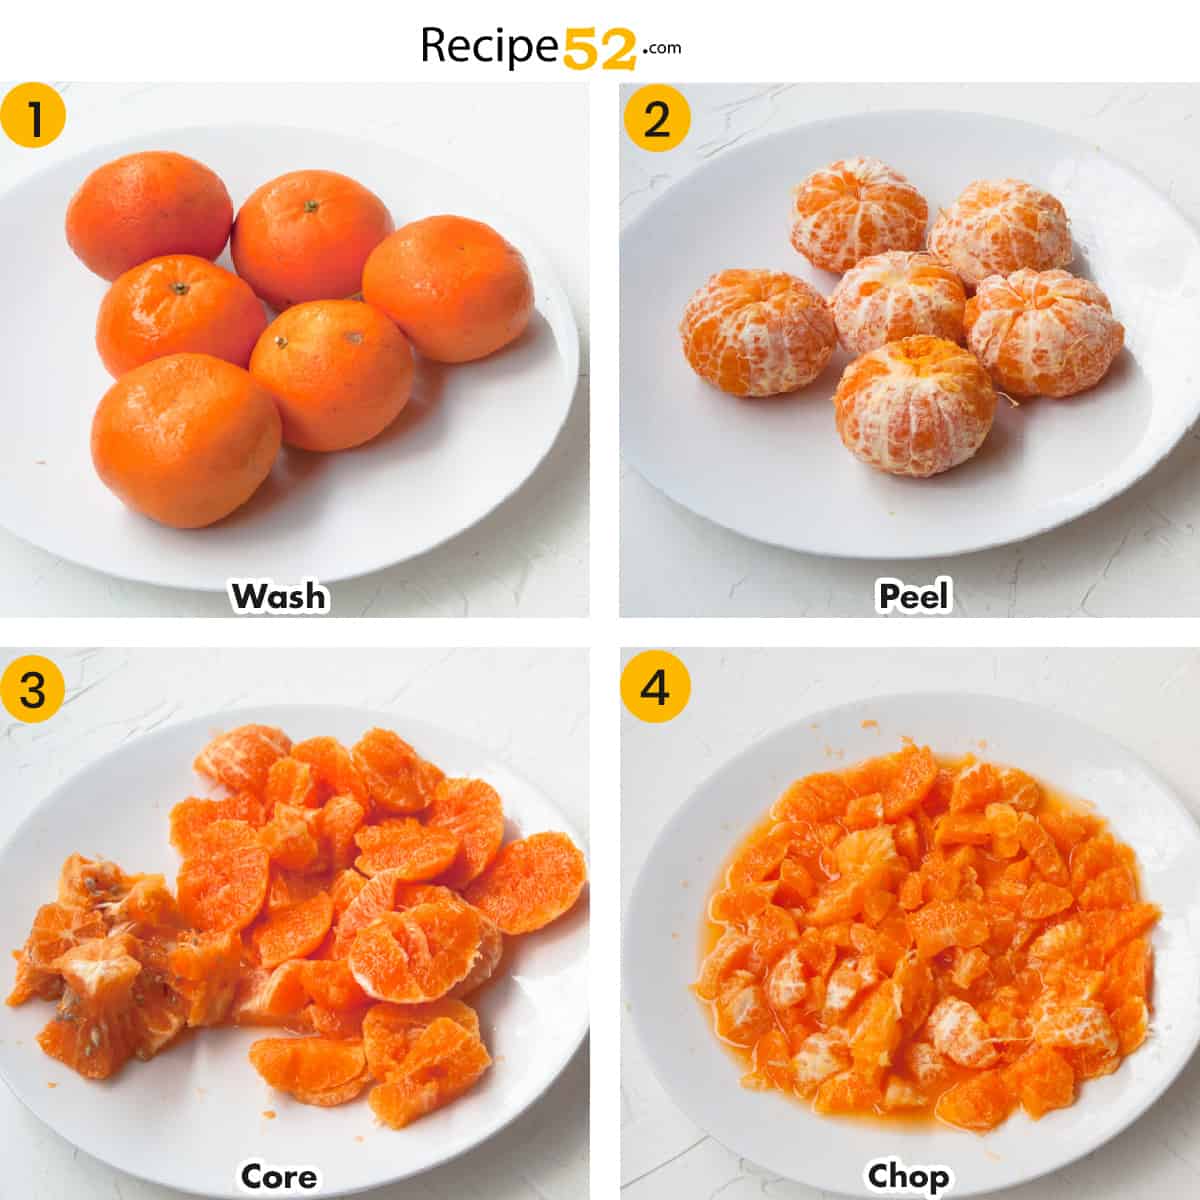
Prep Oranges
- Wash oranges. Zest is one of the best-looking oranges. Find how to zest an orange here.
- Peel oranges. If your oranges have hard peels, use a knife to remove peels.
- Cut the four sides of the oranges, leaving the center intact. Remove any seeds attached to the sides.
- Cut the sides into very small pieces since the orange froze in the ice cream. Aim at cutting smaller bits that spread easily in the ice cream. This will release a lot of juice so cut it on a plate that can retain juice. Also, squeeze the orange center or core by pressing in the fist to extract the juice. Then add this juice to oranges chunks.
Protip: Similarly, you can also make pulpy orange juice in a blender.
Make Orange Ice cream
This is a very easy recipe for homemade ice cream with condensed milk and real oranges. The steps are self-explanatory.
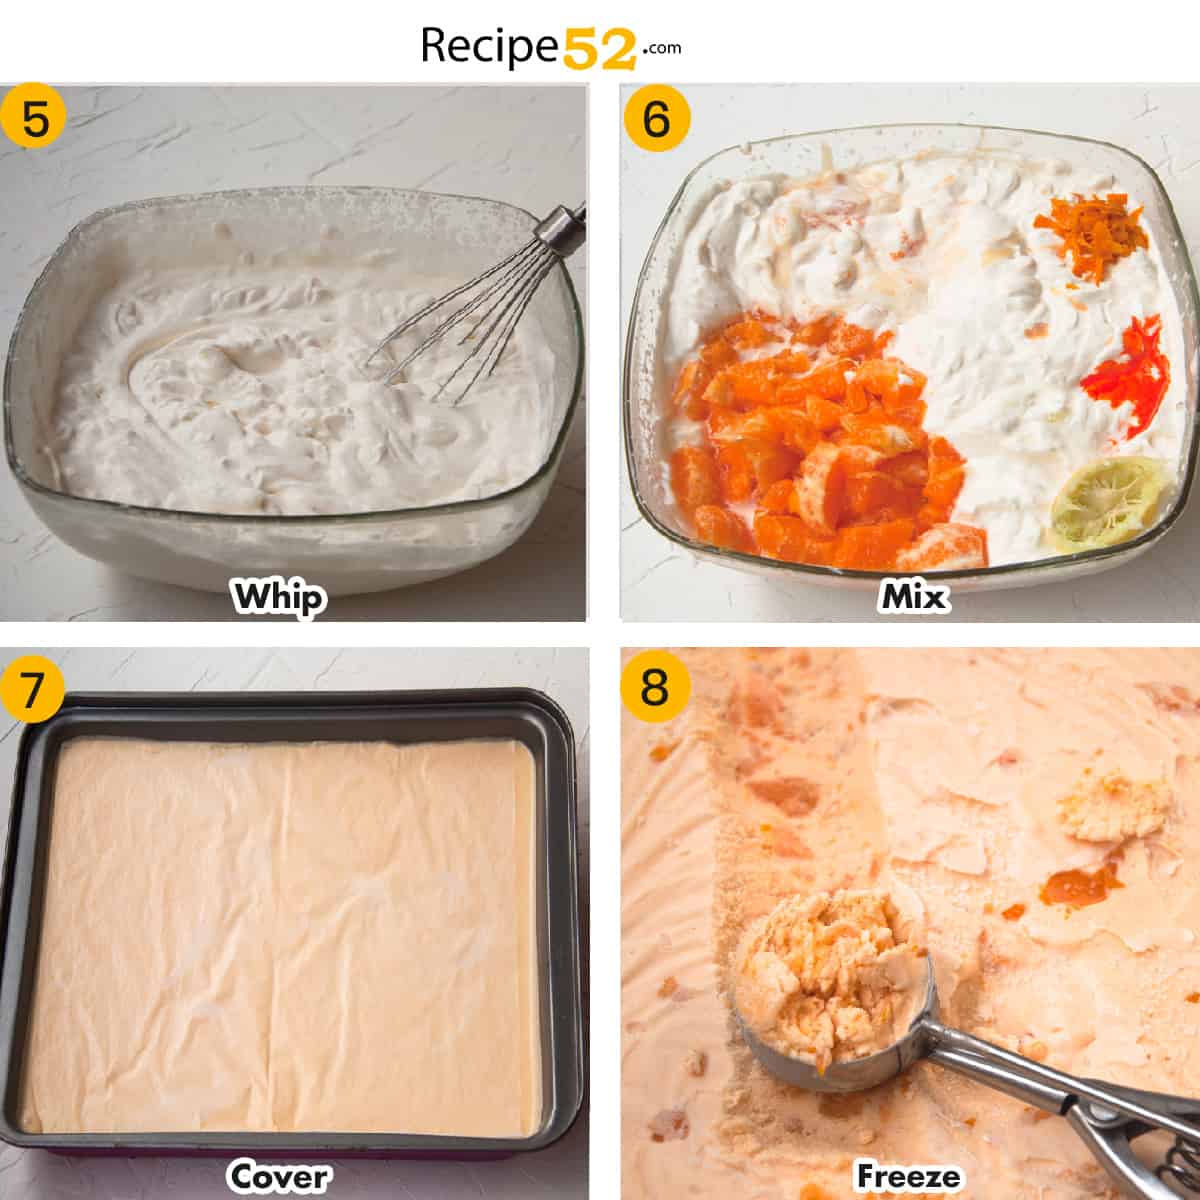
- Take the cream in a bowl and chill it in the freezer for 15 minutes before whipping for the best results. Whip cream until it is doubled and you see stiff peaks. A stiff peak means the cream holds its shape and doesn't melt away into smoothness.
- Add condensed milk, oranges bits, orange zest, food color, and lemon juice.
- Mix well and transfer to a container. Cover the tray with butter paper. Make sure the butter paper touches the ice cream well. We do this to avoid the formation of ice crystals on the ice cream surface.
- Freeze for 6 hours until hard. Remove ice cream from the fridge 10-15 minutes before serving and then scoop easily.
Protip: The butter paper comes off easily after freezing. (If you don't have butter paper, use a cling wrap. It should touch the surface of the ice cream as much as possible and seal it.
Recipe FAQs
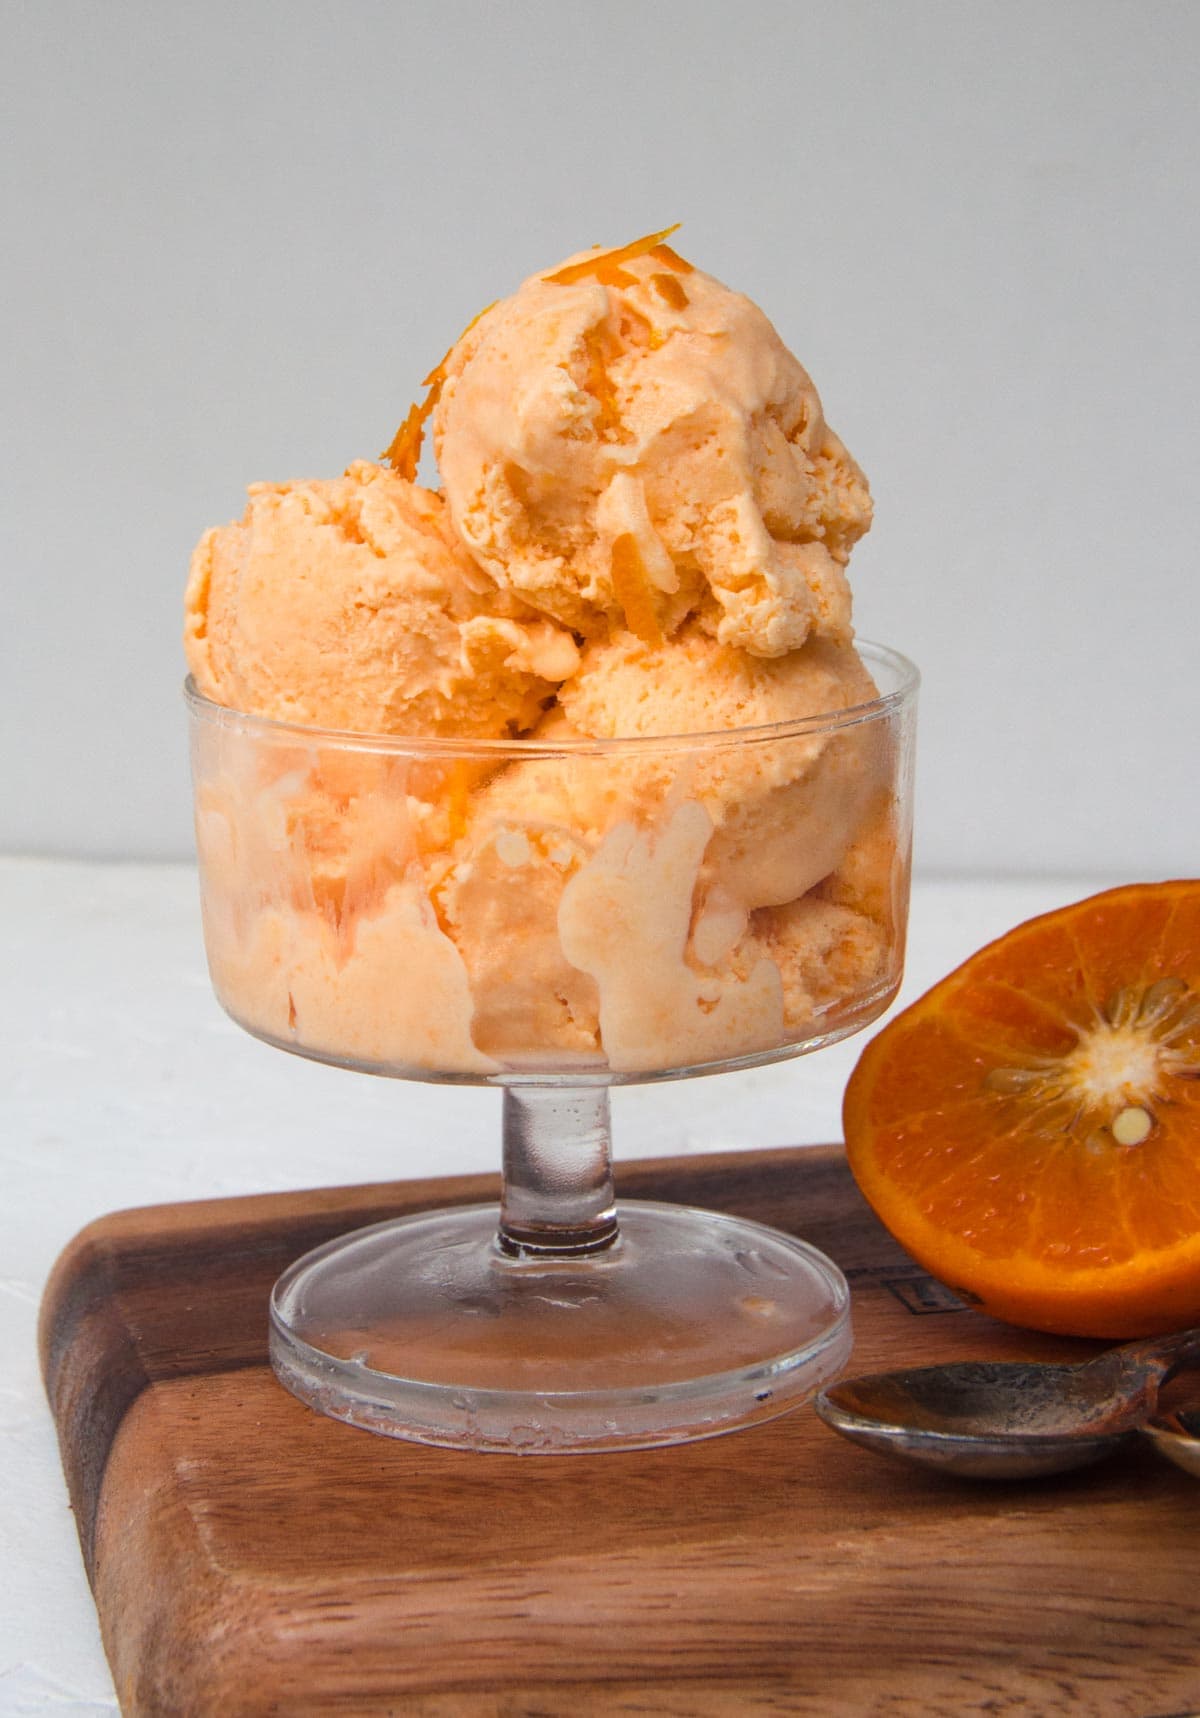
Remove orange ice cream from the freezer at least 15 minutes before serving so it is scoopable. Then serve in an ice cream cup and garnish with zest or chocolate sauce.
Store orange ice cream in an airtight container with butter paper covering the top to avoid icicles.
You can store this homemade ice cream in the freezer for 2 months or more until the taste and texture remain the same.
Hungry for Ice cream? Check these!
If you try this recipe, I'd LOVE to hear your feedback in the comments. Your 5-ratings motivate me to do my best. Stay connected for more recipes and videos on Facebook, Instagram, Pinterest and Youtube.
📖 Recipe
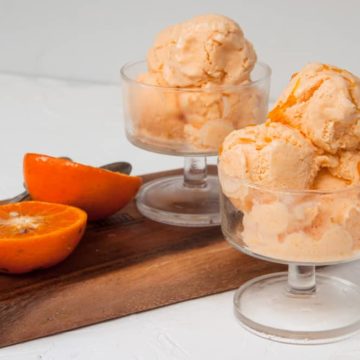
Orange Ice Cream
Equipment
- Butter paper
Ingredients
- 1 tablespoon orange zest
- 5 (about 1½ cups) oranges, cut in chunks
- 2 cups whipping cream, chilled
- 1 can sweetened condensed milk
- 2 tablespoon lemon juice
- ⅛ teaspoon orange food color, optional
Instructions
- Whip cream until it is doubled and you see stiff peaks.
- Add condensed milk, oranges bits, orange zest, food color, and lemon juice.
- Mix well and transfer to a metal container.
- Cover the surface with butter paper. Make sure the butter paper touches the ice cream surface.
- Freeze for 6 hours until hard.
- Remove ice cream from the freezer 10 minutes before serving and then scoop easily.



Leave A comment and Rate this recipe