

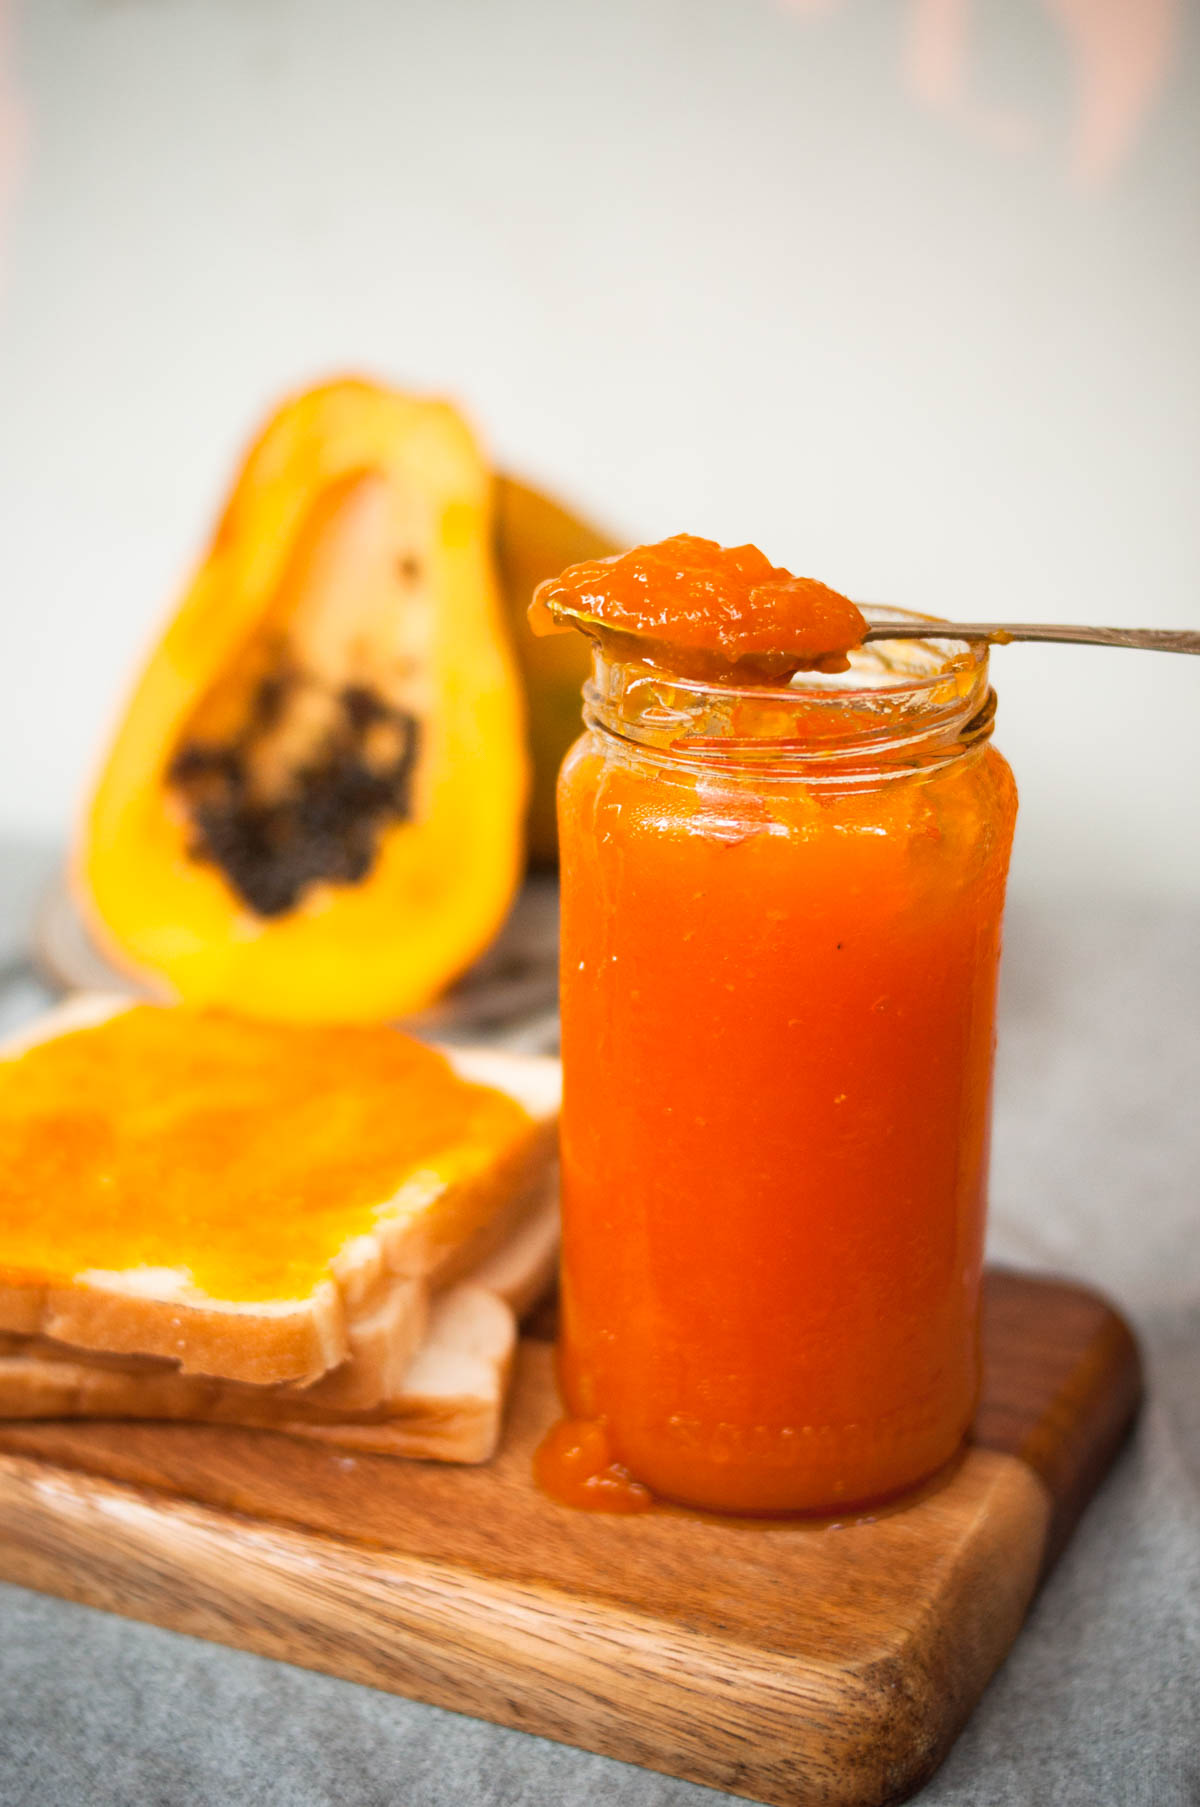
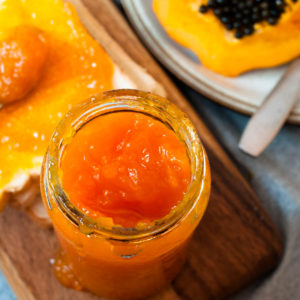
If you have a sweet and delicious papaya fruit in hand, you have to make this homemade papaya jam without pectin and preserve the tropical flavors. And it needs just three ingredients and two jars, and 45 minutes of cooking with very little active time!
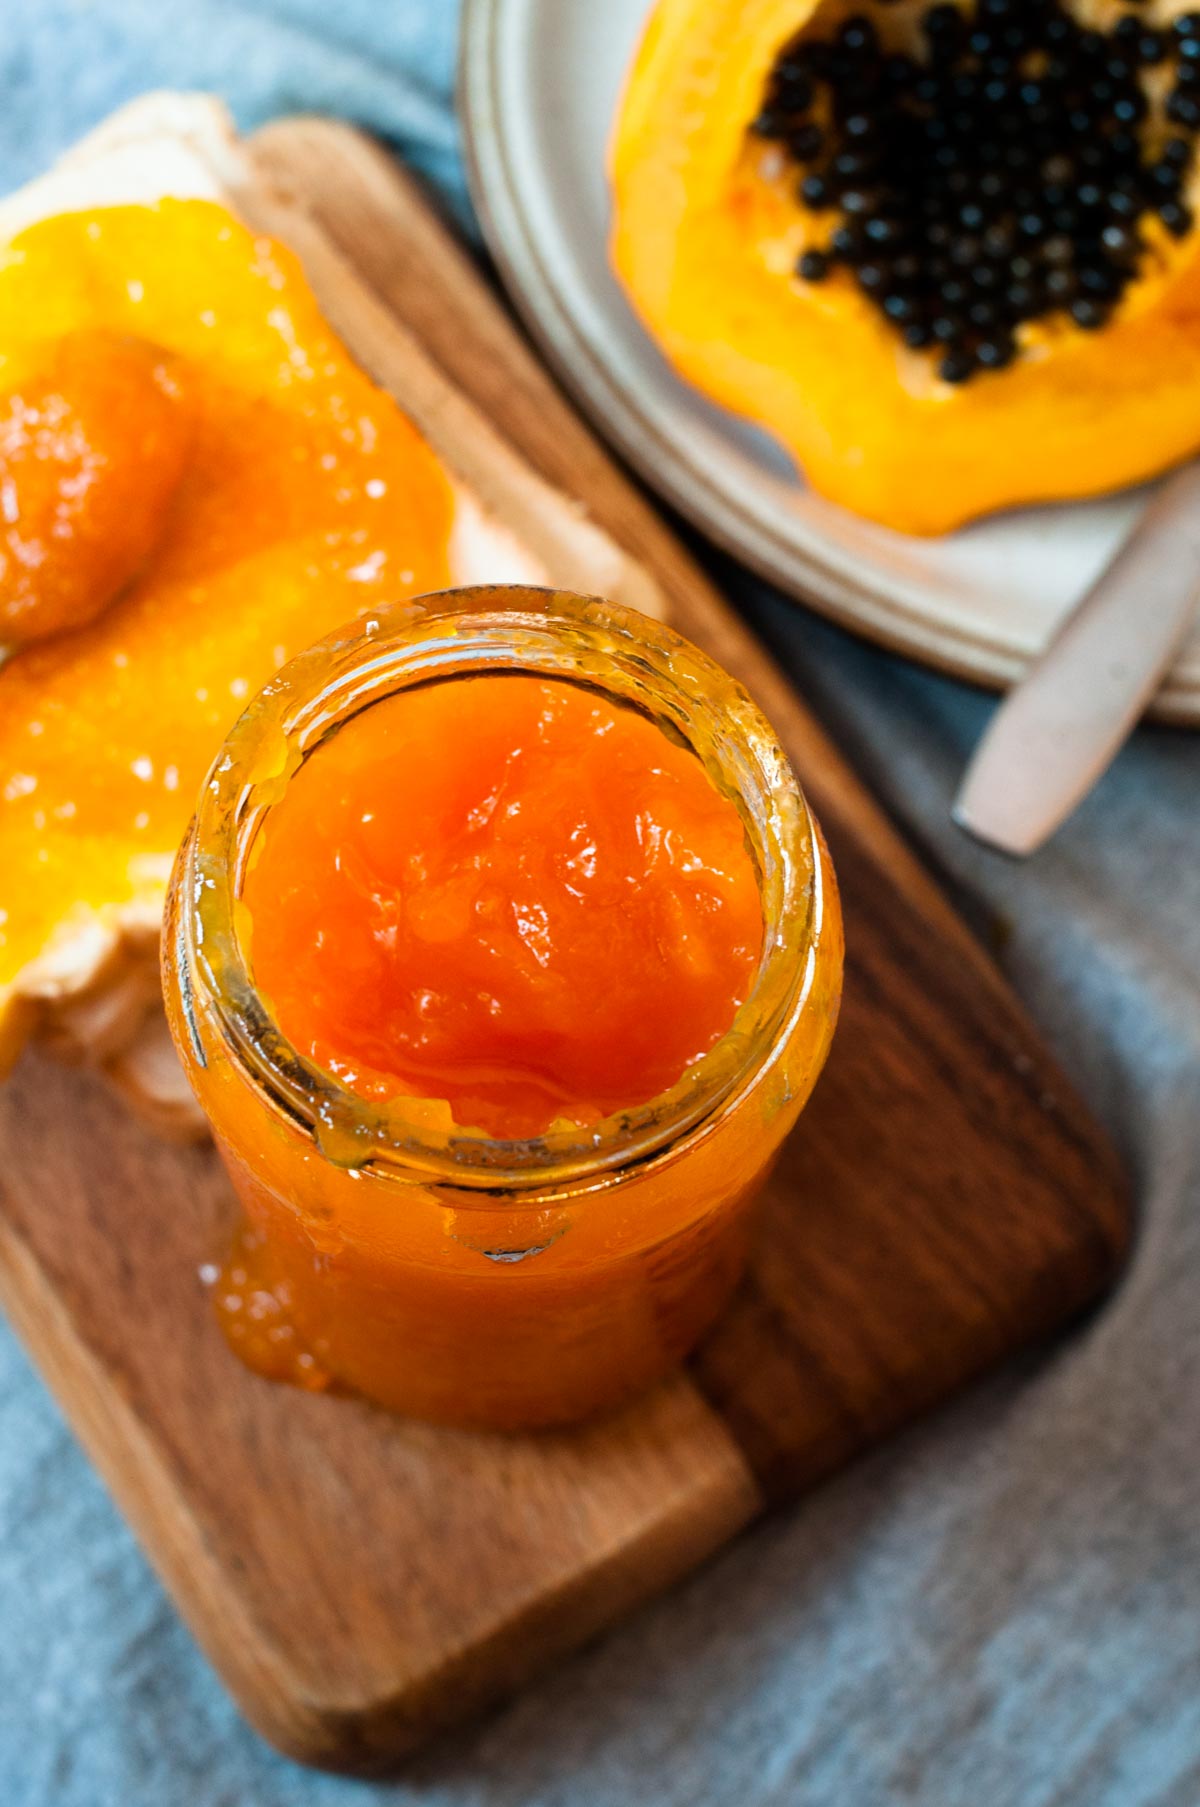
If you love papaya and homemade jam and have never tried a papaya jam. You are missing the most delicious breakfast spread in life.
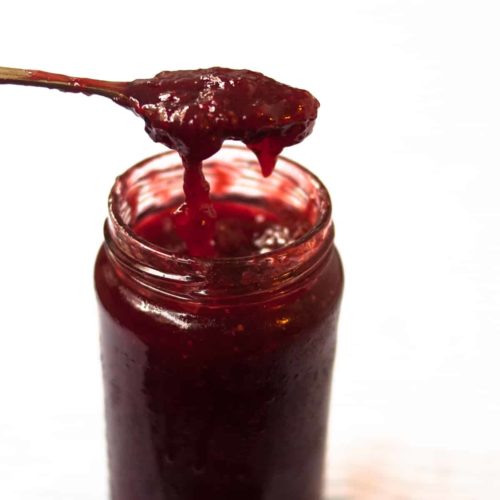
It tastes amazing and to my surprise, the cooked aroma of papaya and the mellow taste boosted with a kick of lemon juice is so so palatable. Papaya jam requires less effort for preparation that's why it is a bonus point if you choose this jam unlike orange jam and strawberry jam.
Why make this?
- Easy to prepare fruit: What is more amazing is that unlike other fruit processing papaya is super easy.
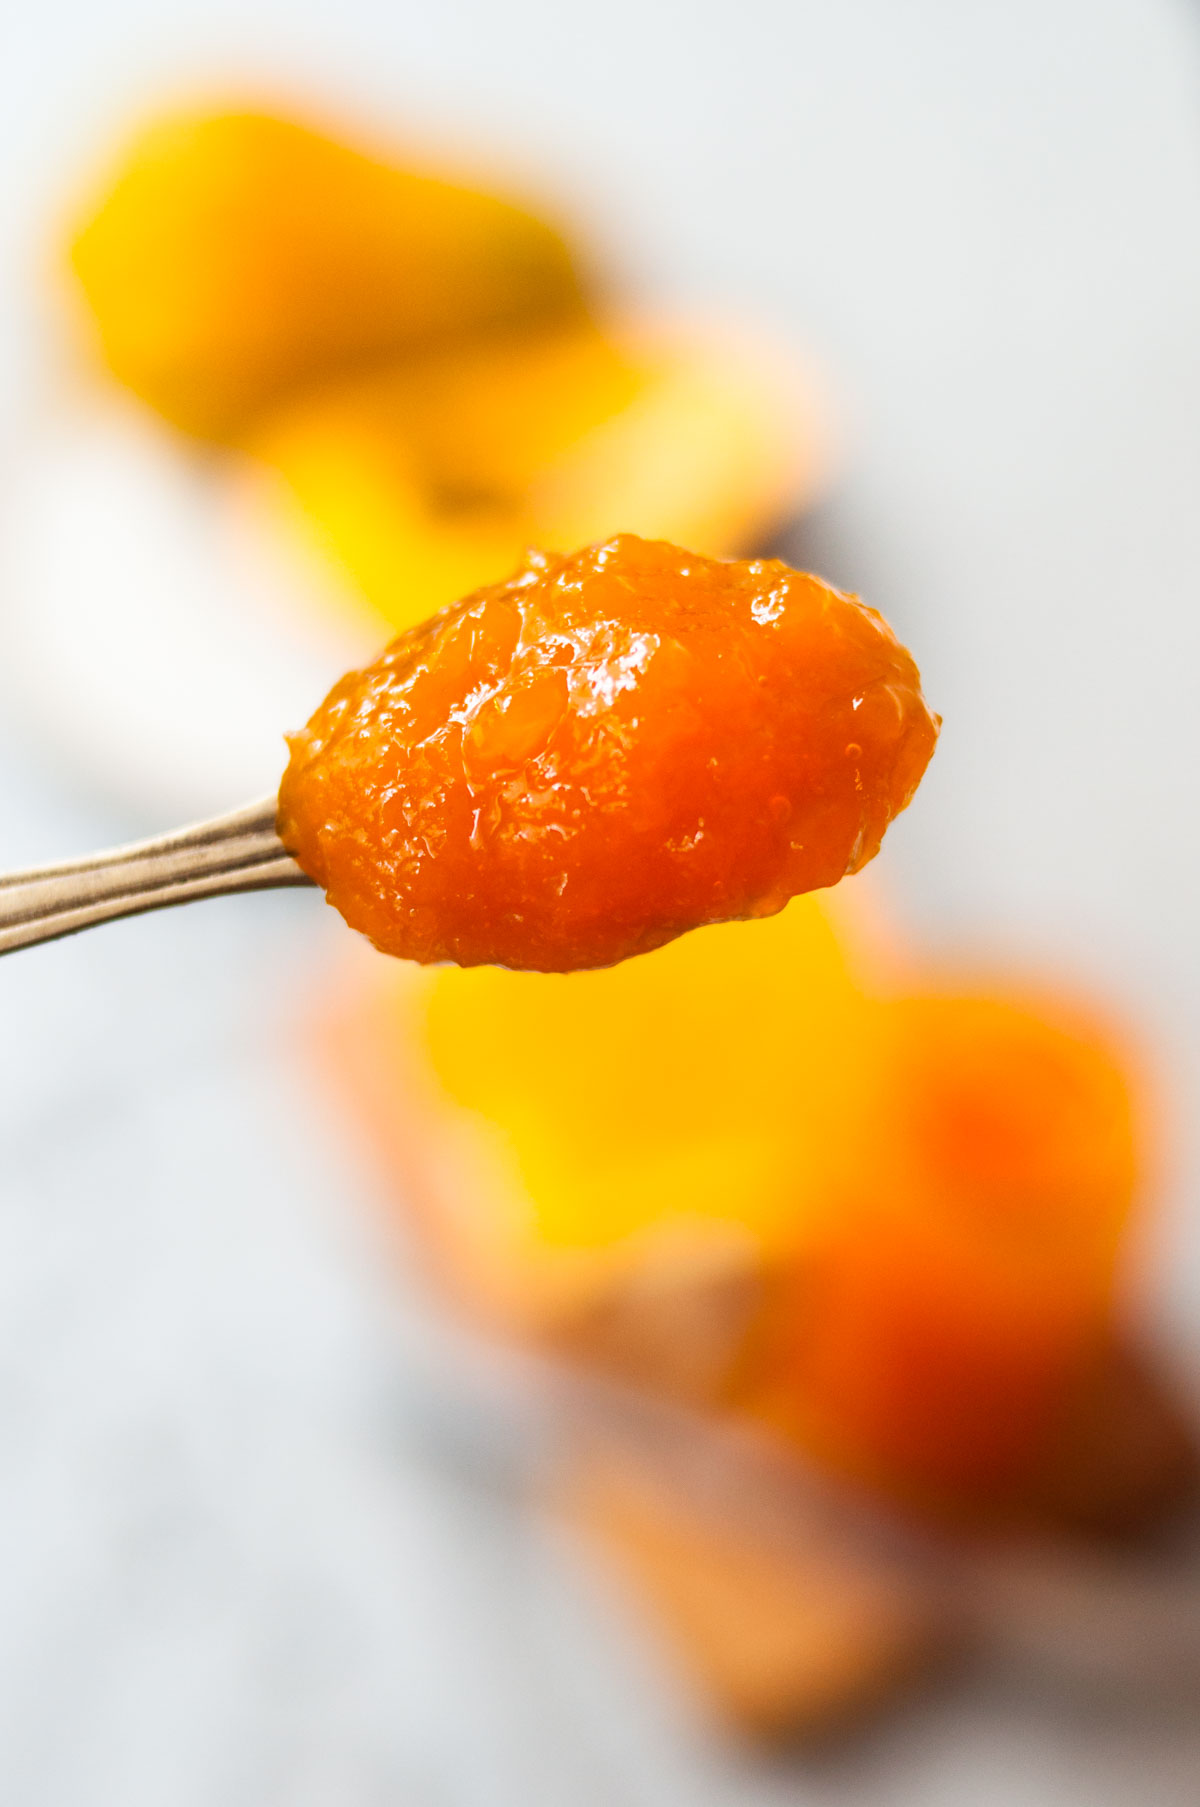
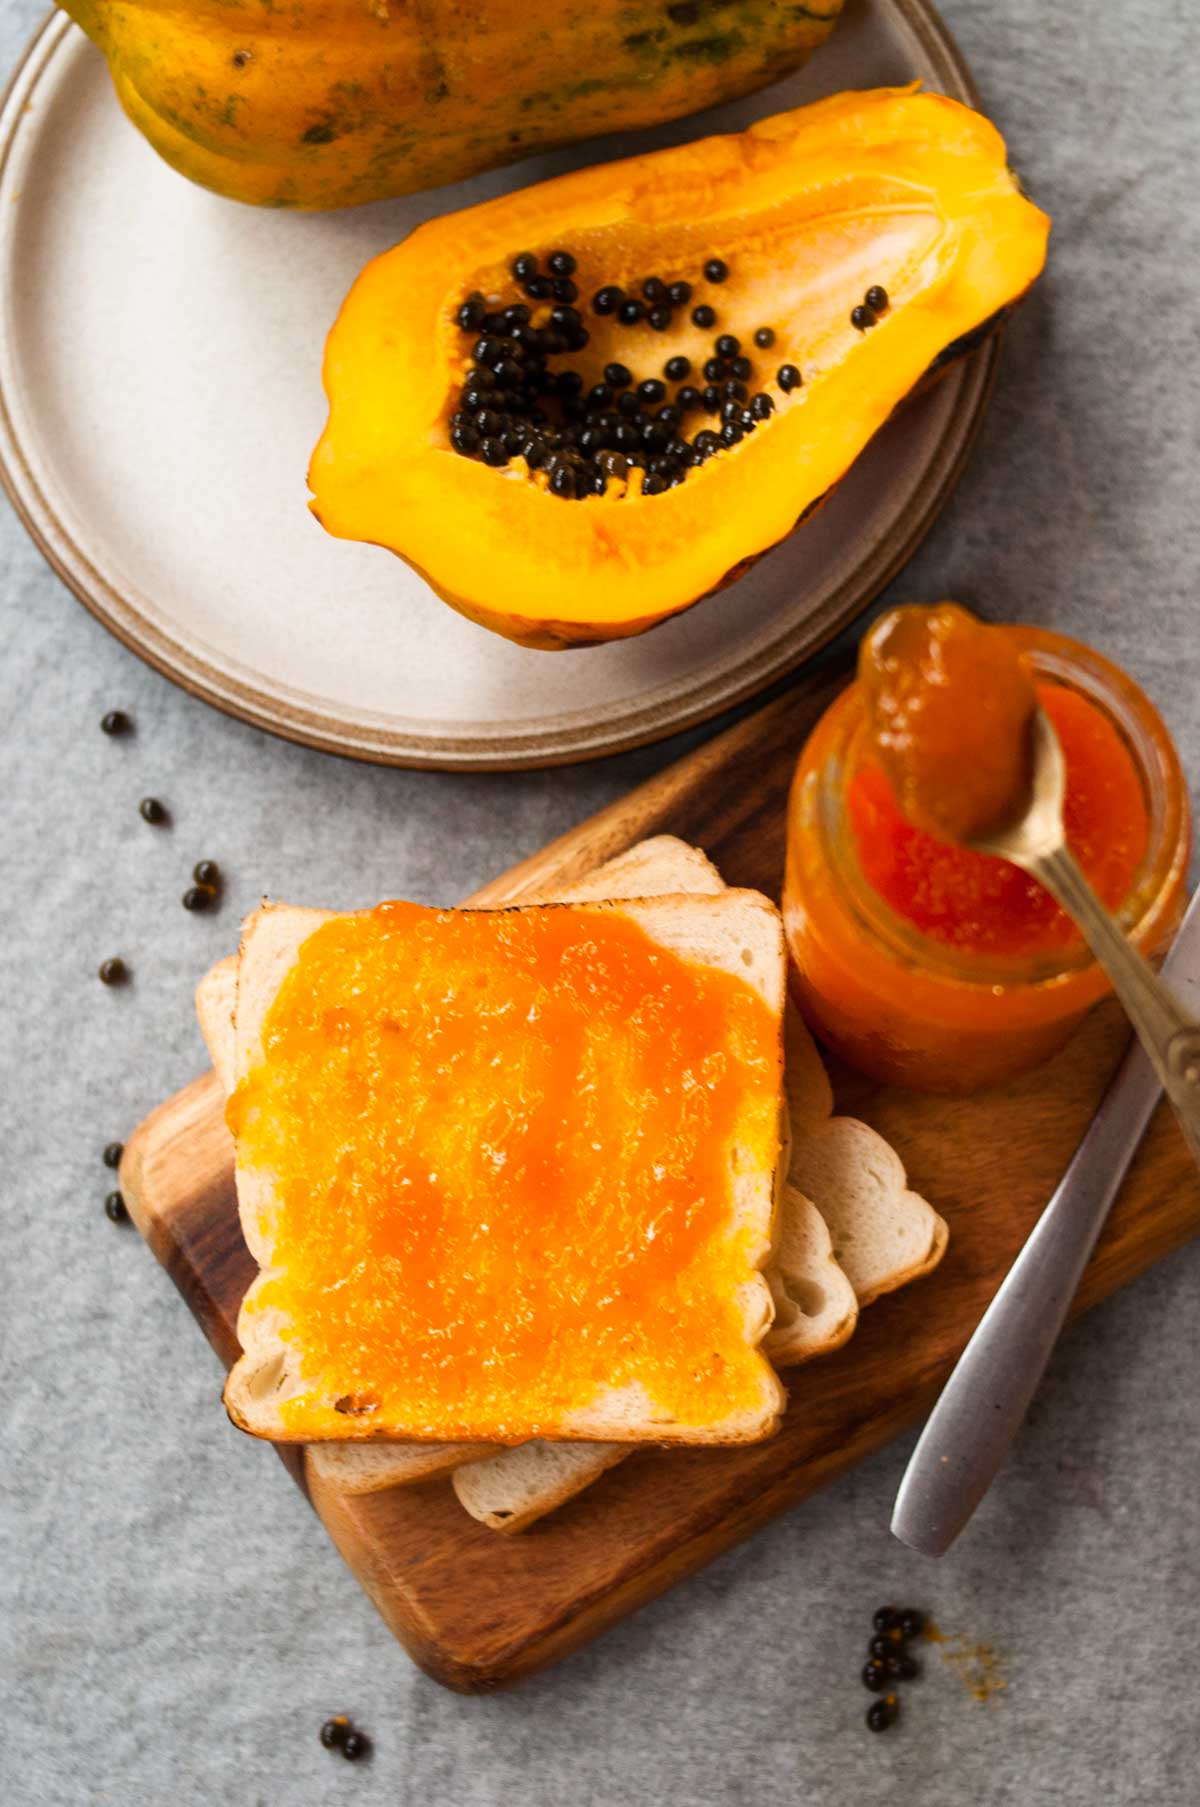
- Sweet taste: If you love sweet jams, this jam tastes very fruity with a background papaya taste and is not very overpowering. Like my other homemade jams, it is spreadable.
- Evergreen fruit: It is an evergreen fruit which available all year round. It helps digestion and aid constipation. Read more benefits at Healthline.
- Low-sugar and small-batch: Unlike most recipes, this jam has very little sugar and a small-sized recipe that can be easily doubled.
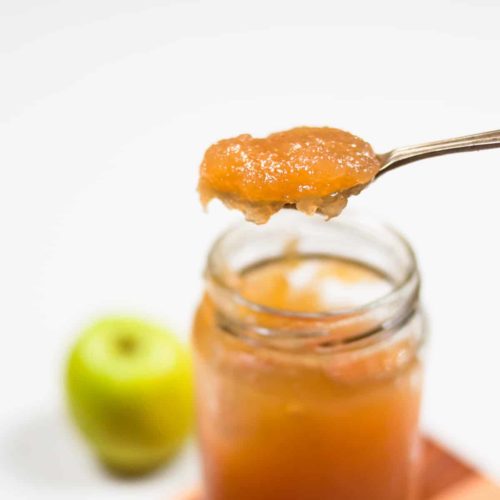
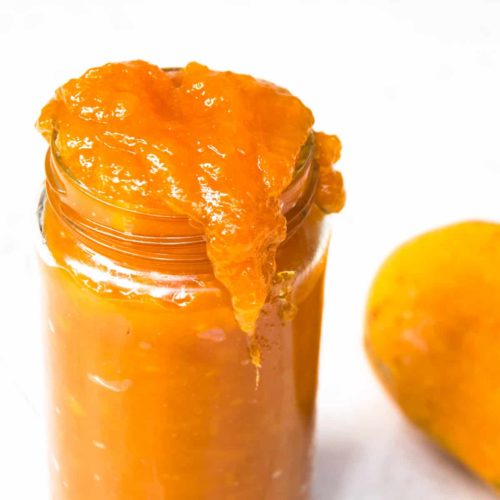
You might also like my apple jam and mango jam.
Ingredients:
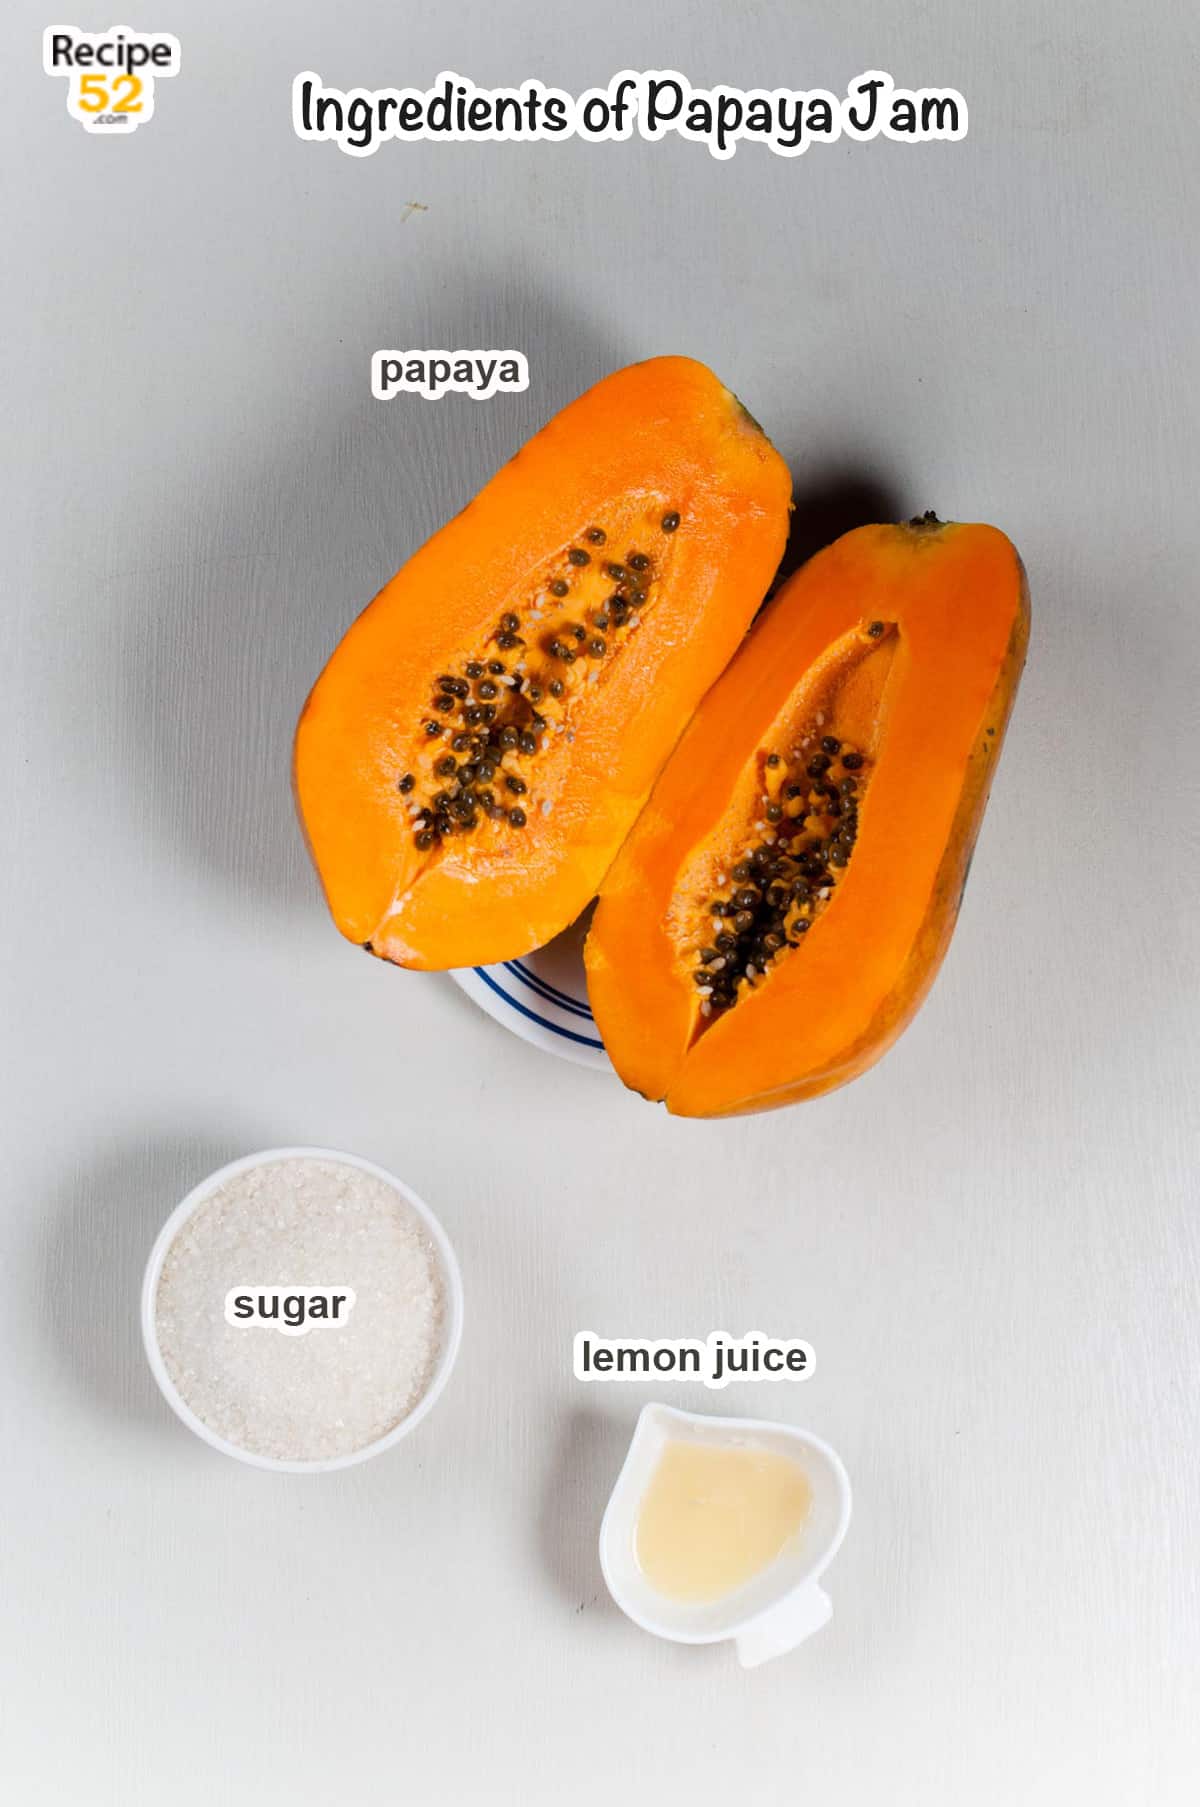
Papaya is the main ingredient so the taste color and texture of plum will reflect in the resulting jam. Use ripened but firm papaya as firm fruit has more insoluble pectin making it easy for the jam to set. Over-ripened papaya will take more cooking time to set.
Sugar is a natural preservative in any jam, you need to add a certain amount of sugar for a no pectin Papaya jam set. If you feel that the papayas are not sweet enough then you can add more sugar for the required taste you want. It is always best to start with less sugar.
(And check jam taste by applying a dollop of hot jam mixture to the toast. That way you could decide better about sweetness.)
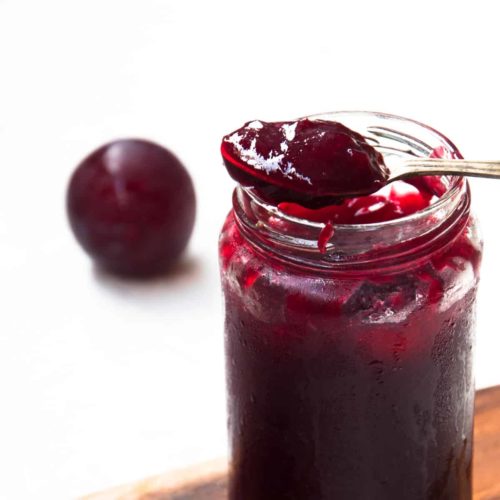
Lemon Juice: This ingredient is added to add a little bit of sour taste and tangy taste to the papaya jam which is very sweet unlike plum jam. So add extra lemon juice if you like. You can't skip lemon juice it also helps activate the natural pectin of papaya and help the jam set.
How to Make it?
Prepare Papaya: Begin by cutting it in half, remove its seeds with the help of a spoon and then slice it in wedges. Also, remove the fibrous veins that are present lengthwise. (They do not get tender and cant be mashed.)
Then skin individual wedges of this large fruit. (If you have a smaller papaya variety in hand, you can simply skin the half.)
This is the easiest and most efficient way of cutting papaya. Because papaya tends to slip, the wedges provide a firm grip compared to skinning the large halves.
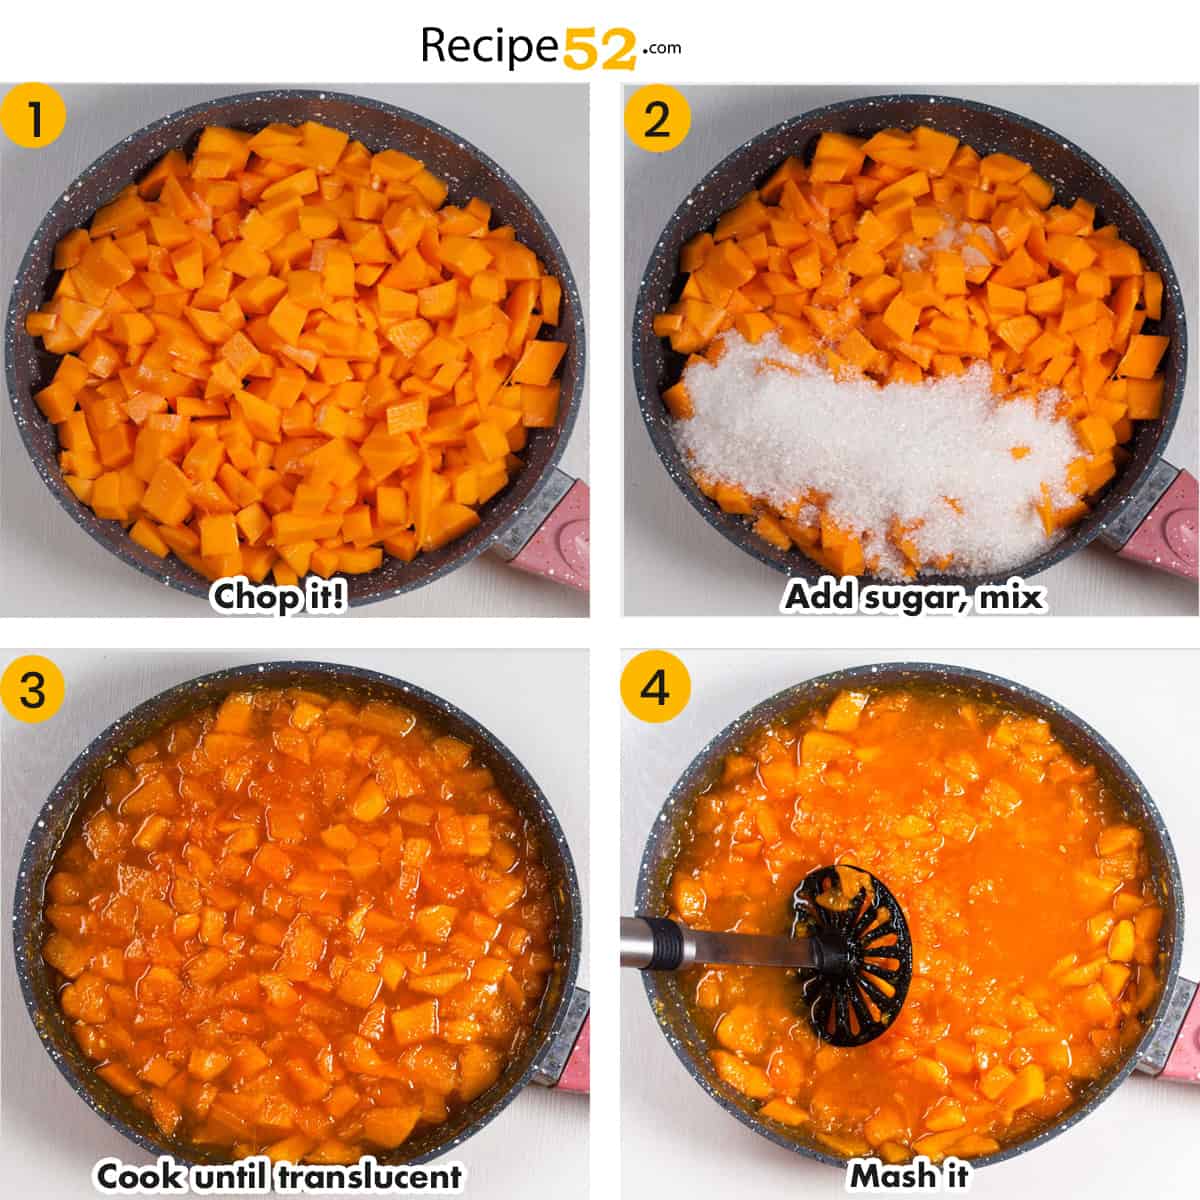
- Use firm and fully ripened papaya that is sweet and chops it into small pieces. Convert the pieces into a pan or a large pot. (Make sure the pot has a thick base, we do not want the sugar to caramelize.)
- Add 1 ¼ cup of sugar first and then add the remaining ¼ cup after the taste test if needed. It is always better to start with less sugar.
- Cook covered for 15 minutes on medium until the papaya is translucent.
- Then mash the jam for a few minutes. Cook uncovered for another 15 minutes until the jam starts getting thick. Then reduce heat to low and keep cooking. Stir frequently when your jam is close to the set point.
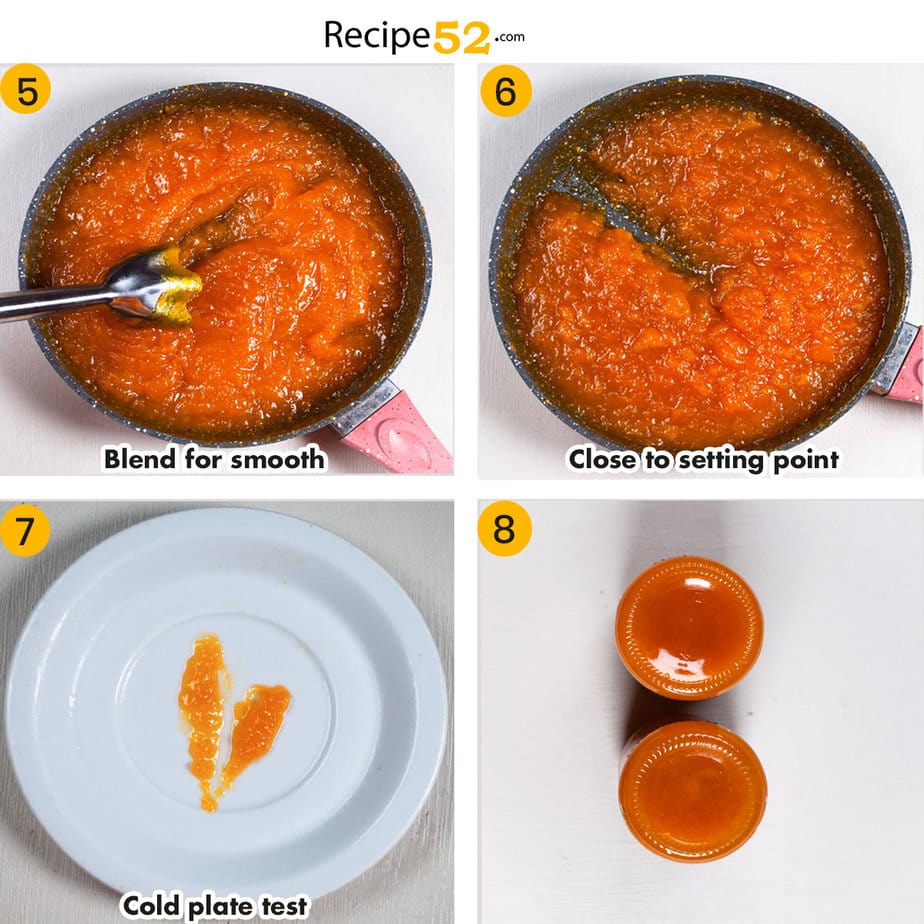
- Blend jam with an immersion blender for a smooth consistency. (You can skip this step if you like chunky jam or if you do not have an immersion blender but it is recommended.)
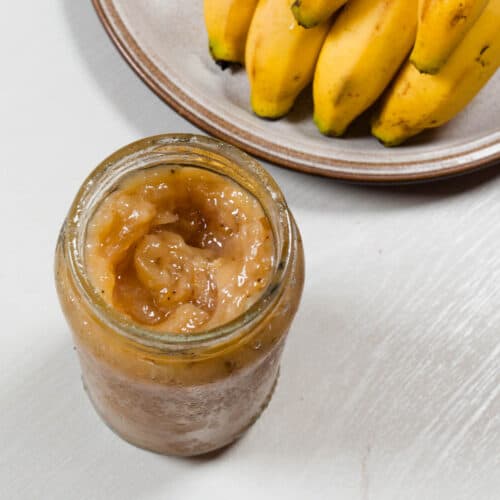
- The jam will turn glossy, and thick around the set point. When you draw a line on the pan it will stay. The jam will be spreadable at this point with a slightly higher yield. If you like thick jam, cook further until you can't see any water on the side edges of jam-like in above photo no.6.
- Do a cold plate test to see jam is ready to set. Place a large drop of hot jam on the freezer cold plate and wait for 30 seconds to cool. Cook until desired thickness is reached. This cold plate test will guide you on what your jam would look when set. (Do not overcook or the sugar can caramelize and make the jam bitter.)
- Ladle hot jam plum jam to clean and sterilized jars. Place the lid and turn the jars upside down. (This step makes a vacuum between the jam and the lid and also helps avoid condensation. You can actually test the seal, but make sure the jars are filled to the top leaving only a ½ inch empty space from the lid.)
- Let the jar stay on the counter overnight to set before serving.
How To Store Jam?
- Homemade jams need more care than processed commercial ones. You can store this jam in the refrigerator in a clean glass jar for 2 months or more in the fridge.
- Use a clean spoon always while serving the jam. (Do not let your finger linger around the rim or inside of the jar if you hate mold on the jam surface.)
- If you want to freeze papaya jam then you can store it in the freezer for six months or more until it tastes the same.
- If you intend to seal and store jam at room temperature in the pantry then follow the canning steps of sterilization of jars and lids before filling hot jam. Process papaya jam in the hot water bath for 10 minutes. Let the jar rest undisturbed overnight before checking the seals. Store the jam in the fridge after opening.
Variation
I'd personally love the variation in papaya jam because it is on the sweeter side and I like a little tartness in my jam to give me that fresh wake-up call in breakfast. Try kiwi jam.
Unlike papaya which is evergreen and available all year round, most fruits are seasonal so I was hesitant to add other fruit to this jam but I highly suggest adding the below options for more depth in taste.
Add other fruits: You can switch 1 cup papaya with orange pulp, or tart green apples. Both of these are high pectin fruit which means better yield too. Under ripened sour mango, or even sweet ripened make a very tropical-flavored jam.
Spiced jam: If spices are your thing try adding ginger or cinnamon or cardamom. Vanilla is a great option too.
How to use it?
- Spread the jam on a tart or pie and enhance the taste of your dessert.
- Stuff it into bread dough and bake it.
- Pancakes with some papaya jam spread would be mouth-watering enough for your little ones too.
- Top it with vanilla ice cream.
- Mix it in yogurt to sweeten and make naturally flavored yogurt.
- Add it to your thumbprint cookies or jam biscuits.
- Lastly, my favorite is to add it to your yogurt parfait or overnight oats. Yum!
FAQ
Papayas are rich in pectin which is needed in jam to set. But remember the pectin dissolve as it ripes, or say the more it ripes.
You can preserve jam by following the canning steps of sterilization of jars and lids before filling hot jam. Then process papaya jam in the hot water bath for 10 minutes. Let the jar rest undisturbed overnight before checking the seals. Alternatively, you can store the jam without canning in the fridge for 1 month or freeze it for 6 months.
Hungry for Fruit jam goodness? Try these.
If you try this recipe, I'd LOVE to hear your feedback in the comments. Your 5-ratings motivate me to do my best. Stay connected for more recipes and videos on Facebook, Instagram, Pinterest, and Youtube.
📖 Recipe
Papaya Jam
Ingredients
- 1 kg papaya, firm and ripened,
- 1¼ to 1½ cup sugar, less or more to taste
- 4 tablespoon lemon juice
Instructions
- Wash and cut the papaya in half, remove its seeds with the help of a spoon. Remove the fibrous veins under the seeds. Skin the fruit then cut in small peices.
- Take sugar and papaya in a wide and thick bottomed pot. Mix well, the sugar will turn watery immediately.
- Cook jam covered on medium heat for 15 minutes until the papaya is translucent.
- Then mash and cook uncovered for another 15 minutes until the jam starts getting thick. Then reduce heat to low and keep cooking with frequent stirring close to the jam setting point.
- Blend jam with an immersion blender for a smooth consistency. You can skip this step.
- The jam will turn glossy, and thick around the set point. When you draw a line on the pan it will stay. The jam will be spreadable at this point with a slightly higher yield. If you like thick jam, cook further.
- Do a cold plate to see jam is ready to set. Place a large drop of hot jam on the freezer cold plate and wait for 30 seconds to cool. Cook until desired thickness is reached. Do not overcook and caramelize the sugar.
- Ladle hot jam to clean and dry (preferably sterilized) jars leaving just ¼ inch from the top. Place the lid and turn the jars upside down. (This step makes a vacuum between the jam and the lid and also helps avoid condensation.)Let the jar stay undisturbed on the counter overnight to set before serving.
Store Jam
- Then store in the fridge if consumed within 1 month. Or follow canning steps and process in a boiling water bath for 10 minutes if intending to store it in the pantry for a longer period. If you find canning overwhelming, freeze the papaya jam.

Leave A comment and Rate this recipe